
Finance
How to Finance your Bathroom Remodel in Chicago
04.15.2025
In This Article
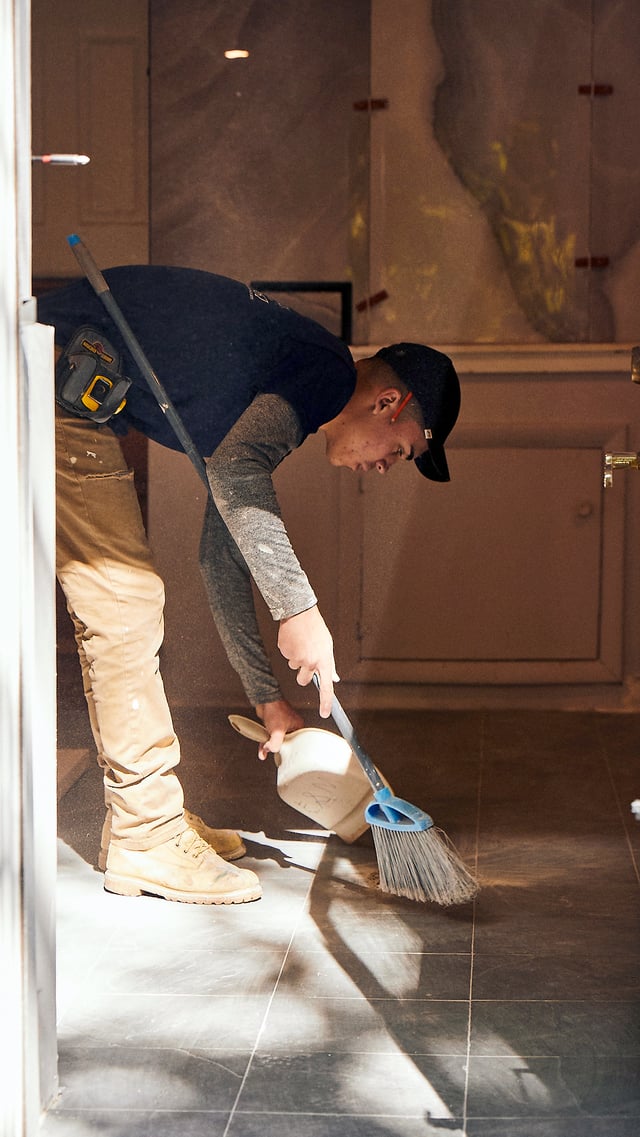
Renovating your home is an exciting process, but the aftermath can be overwhelming, especially when it comes to cleaning up construction dust. This fine dust can settle on every surface, infiltrate HVAC systems, and linger in the air long after the project is completed. It’s not just an aesthetic issue—construction dust can cause respiratory problems, irritate allergies, and even damage household surfaces over time.
Cleaning up thoroughly after a renovation is essential for restoring indoor air quality and maintaining the integrity of your home. This guide will walk you through an effective, step-by-step cleaning process to remove construction dust and ensure your home is safe and spotless.
Construction dust consists of fine particles from drywall, sawdust, cement, and other materials used in renovation projects. These particles can easily become airborne, settling in hard-to-reach places and accumulating in vents and ductwork.
The potential hazards of construction dust include:
A deep cleaning is necessary to remove this dust and ensure that your living space is truly clean and safe.
To effectively clean up construction dust, you’ll need the right tools and cleaning supplies. Gather the following items before starting:
Having the right equipment ensures a thorough and efficient cleaning process.
The first step in removing construction dust is improving air circulation. Open all windows and doors to allow fresh air in and help dust dissipate. If available, use exhaust fans to push airborne dust outside. Avoid turning on your HVAC system too soon, as it can pull dust into the ducts and spread it throughout the house.
Before introducing any liquids, begin by dry dusting surfaces. Use microfiber cloths to wipe down walls, ceilings, countertops, shelves, and furniture. Dry dusting is the safest way to remove dust without spreading it further or creating a muddy residue.
A high-quality vacuum with a HEPA filter is essential for post-construction cleaning. Regular vacuums can release fine dust back into the air, making cleanup more difficult. Focus on the following areas:
Vacuuming should be repeated multiple times over the course of a few days to ensure all dust is removed.
After vacuuming, use a damp microfiber cloth or sponge with an appropriate cleaning solution to wipe down all hard surfaces. Pay special attention to:
Make sure to wring out excess water from the cloth to prevent moisture damage, especially on wood surfaces.
After sweeping and vacuuming, mop hard floors to remove any remaining dust. Use a cleaning solution suitable for the flooring material:
For heavily dust-laden floors, you may need to mop more than once to achieve a completely clean surface.
Construction dust tends to settle on high-up surfaces that are often overlooked. Dust and wipe down:
Remove vent covers and wash them in warm, soapy water before reinstalling.
Your home’s air filters can quickly become clogged with construction dust. Replace HVAC filters immediately after renovation and continue checking them weekly for the first month. Using a HEPA-filtered air purifier can help clear any remaining airborne dust particles.
Soft furnishings tend to trap dust and require thorough cleaning. Wash or dry-clean the following:
Steam cleaning upholstered furniture can also help remove embedded dust.
Despite your best efforts, some construction dust may linger. A second round of vacuuming and dusting a few days later can help eliminate any remaining particles. Check hidden spots such as behind appliances, inside cabinets, and under furniture.
While post-renovation cleaning is essential, taking preventive measures can reduce the amount of dust that spreads throughout your home during future projects.
Renovating your home is an exciting endeavor, but the dust left behind can be a serious issue if not addressed properly. A thorough, multi-step cleaning process ensures that your living space is fresh, clean, and free of harmful dust particles. By following these best practices and taking preventive measures for future projects, you can enjoy the results of your renovation without the hassle of lingering dust.
What are the most effective tools for cleaning construction dust?
Can construction dust be harmful to health?
How often should I change air filters after construction?
What cleaning products are safe for removing dust without damaging surfaces?
How can I prevent dust from spreading during construction?
Renovate confidently with Block
Easily compare quotes from top quality contractors, and get peace of mind with warranty & price protections.
Thousands of homeowners have renovated with Block

4.5 Stars (100+)

4.7 Stars (100+)

4.5 Stars (75+)

Finance
How to Finance your Bathroom Remodel in Chicago
04.15.2025

Design
What is a Frameless Glass Shower Screen?
03.25.2025
Finance
Ultimate Guide to Chicago Bathroom Financing
03.24.2025
Remodeling
How to Finance a Bathroom Remodel in New Jersey
03.19.2025
Cost
A Complete Guide to Bathroom Renovation Costs in Fairfield County (2025)
03.19.2025
Renovate confidently